As moisture analysis is a great indicator of product quality across many industries, government authorities around the globe regulate moisture content today.
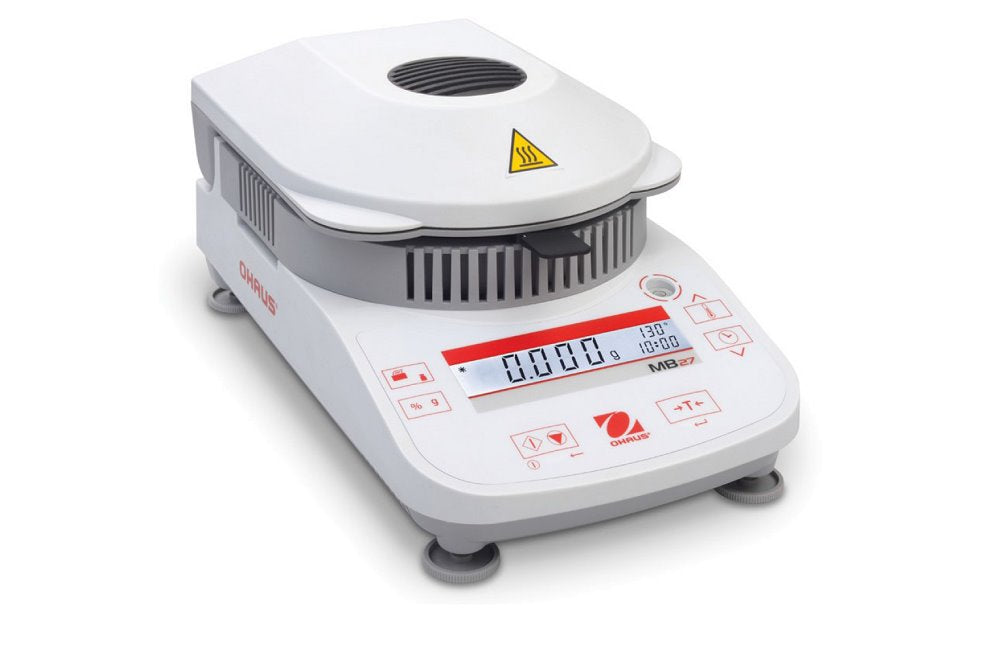
To meet those regulations and your customers’ demand for the highest quality, you can always count on a precise moisture analyzer such as the Ohaus MB27. However, just having the right device is not enough.
For instance, the moisture in your testing environment can alter the results of your analysis. Plus, not every material reacts the same way to moisture analysis. That’s why sample preparation is not just helpful but necessary for accurate readings.
Now that we can agree on the importance of preparing samples, here are some practical tips to help you do that:
1. Ensure Proper Representation
When drawing samples, you need to make sure the sample size is representative of the total volume and remains uniform across all tests. If your samples are random, you can expect the results to be random as well.
Homogeneity is another important aspect. As such, mixing and stirring your sample before the analysis is usually a good idea.
Apart from all that, sufficient sampling is another way to improve representation. A general tip to keep in mind is that the more samples you analyze, the more reliable your results will be.
2. Account for Ambient Conditions
As we mentioned earlier, the ambient conditions of your lab can influence the moisture content of your samples.
For example, even if the temperature remains constant but the humidity rises and falls, the moisture content in your sample will change as it absorbs or gives off moisture.
An easy way to avoid that is by using airtight containers in your process. Unless you analyze moisture as soon as you take the sample, you should store it in the container.
3. Maximize Sample Exposure
If your sample is spread evenly on the moisture scale pan, heat distribution and thus the moisture diffusion out from the sample will be even as well. And an even diffusion of heat is key to rapid and reproducible results.
There are a few ways to achieve that. Consistent sample sizing and homogenous mixing are a good start, as explained earlier.
For the best results, however, you may have to break up the sample to increase the surface area. You can achieve that by using a grinder or just cutting it simply.
Once the sample size is suitable for the moisture balance pan, you should spread it evenly over the pan. A good rule of thumb is to avoid building up piles.
And remember: you should never heat the sample at this stage. Doing so will result in moisture loss in the sample and hence an unreliable result.
4. Use Glass Fiber Sample Pads
For testing moisture in liquid and semi-liquid solids, you should consider using a glass fiber sample pad as it can increase the surface area and speed up the drying process significantly.
All you need to do is to tare the pad with the pan of the moisture analyzer and then carefully spread the sample on it. This is especially helpful for samples with a moisture content higher than 30%.
If you would like to buy some high-quality pads, you should check out the DSC Glass Fiber Sample Pads as they are great at keeping liquids from splattering in your sample and thus ensuring equal heat distribution.